
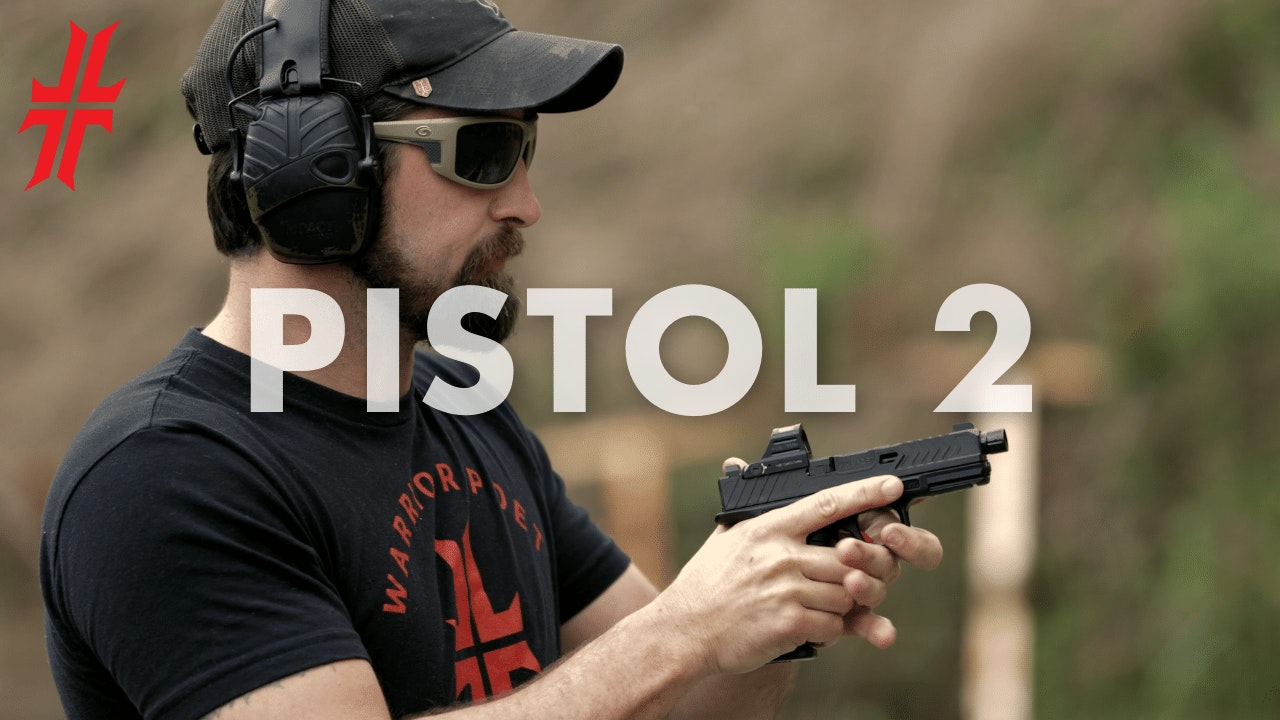
Pistol 2
11 Episodes
This course begins with a review of safety protocols and an audit of each individual’s shooting fundamentals and basic skill sets (draw stroke, reloads, etc). During this course, students will learn use of cover/concealment, concealed carry considerations, fighter mindset, and movement.
-
 20:11Episode 1
Chapter 1 | Intro & Safety
Episode 1
John reviews and transitions the pistol skills learned in Pistol 1 and previews the combat skills required for self defense. Understanding tactical advantages helps you fight and survive. Safety review and protocols.
-
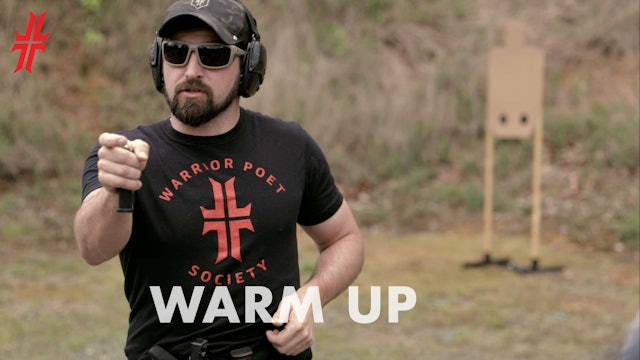 16:04Episode 2
Chapter 2 | Warm Up
Episode 2
John works through a range exercise with dry fire and live fire exercises. The secret to progress is perfect practice, not just practice. Plus up your skills to reach the next level.
-
 15:01Episode 3
Chapter 3 | Target Transitions - Part 1
Episode 3
John instructs the process of target transitions through proper sight lifts and trigger prep. The body movements for proper target transitions require a special discipline. Know the 5 things required for proper target transitions.
-
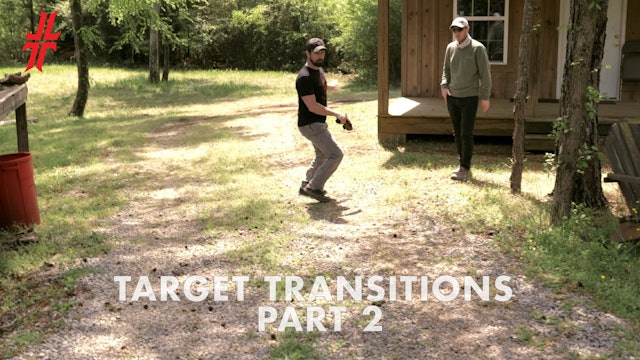
 24:20Episode 4
Chapter 3 | Target Transitions - Part 2
Episode 4
John instructs the process of target transitions through proper sight lifts and trigger prep. The body movements for proper target transitions require a special discipline. Know the 5 things required for proper target transitions.
-
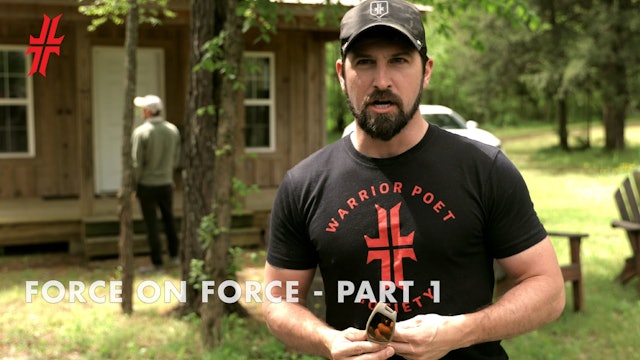 24:23Episode 5
Chapter 4 | Force on Force - Part 1
Episode 5
John conducts target transition drills with dry fire and live fire exercises to decrease the shot interval and increase accuracy. Start slowly and then push for speed.
-
 15:36Episode 6
Chapter 4 | Force on Force - Part 2
Episode 6
John conducts force on force exercises with blank munitions. Practicing safety is critical to force on force training. Fighting scenarios help you defend yourself in an ambush. Step 1 is flee the ambush.
-
Chapter 5 | Cover and Concealment - Part 1
Episode 7
John gives instruction on how to get off the X. Cover can stop a bullet, but concealment will not. However there is minimal cover in every day life. The bad guy wants line of sight. Use concealment to your advantage.
-
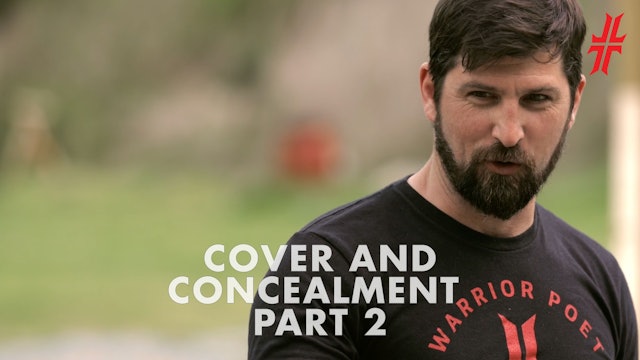
Chapter 5 | Cover and Concealment - Part 2
Episode 8
John teaches how to choose the proper cover and use concealment properly. Finding your best angles gives you a tactical advantage. Never flag your position. Maintain the element of surprise.
-
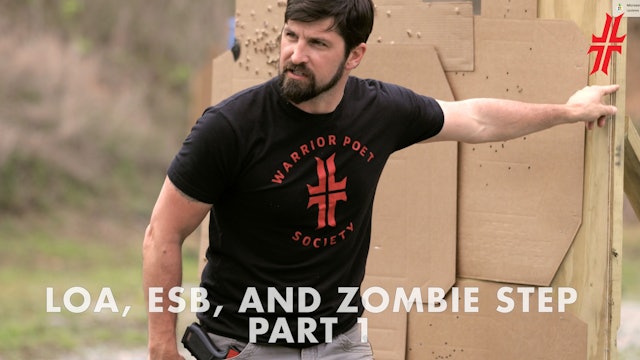
Chapter 6 | LOA, ESB, and Zombie Step - Part 1
Episode 9
John demonstrates the LOA - Limit of Advance - to conceal your position and not flag your opponent. The ESB line helps you set your eye, shoulder and base without flagging.
-
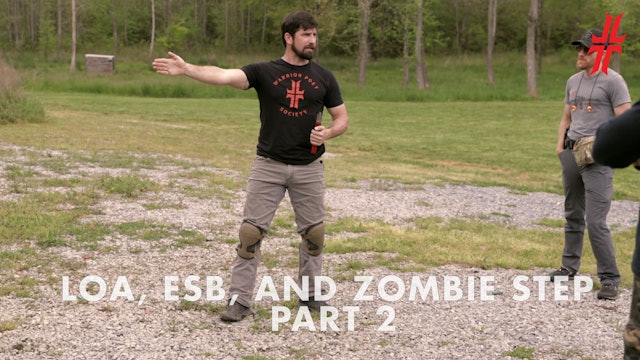
Chapter 6 | LOA, ESB, and Zombie Step - Part 2
Episode 10
John demonstrates how to position yourself to fight versus flag in a concealment battle. How to pop out versus be slow and sneaky.
-
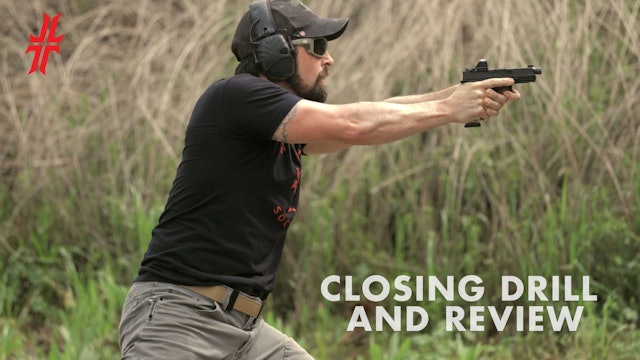 14:14Episode 11
Chapter 7 | Closing Drill and Review
Episode 11
John brings all the elements of Pistol 2 into practical application. Practice seeing and thinking quickly. Running drills with stress conditions helps you survive an ambush.